Several years ago, we bought a bunch of bar stools from Ikea for our kitchen. They were around $8 a piece and are so perfectly sized for our needs that we have not seen anything better at any cost.
 |
| $8 Ikea bar stool to be upgraded |
The only shortcoming to these stools are their wood seats. With time and motion, the screw holes in the wood become looser and the screws fall out. The other problem is that the wood seats are divided into 4 wedges that allow food and spilled liquids to seep into and accumulate in the trenches in between them.
Of course, at $8 a piece, it would be smarter to just replace the stools -- and I certainly would have done this -- but this model of stool went the route of so many things Ikea: it was discontinued.
So I decided to set out to not only fix these ailing stools but to give them an upgrade, thanks to my over sized
Shapeoko CNC Router and to some new materials that I was able to acquire inexpensively on eBay.
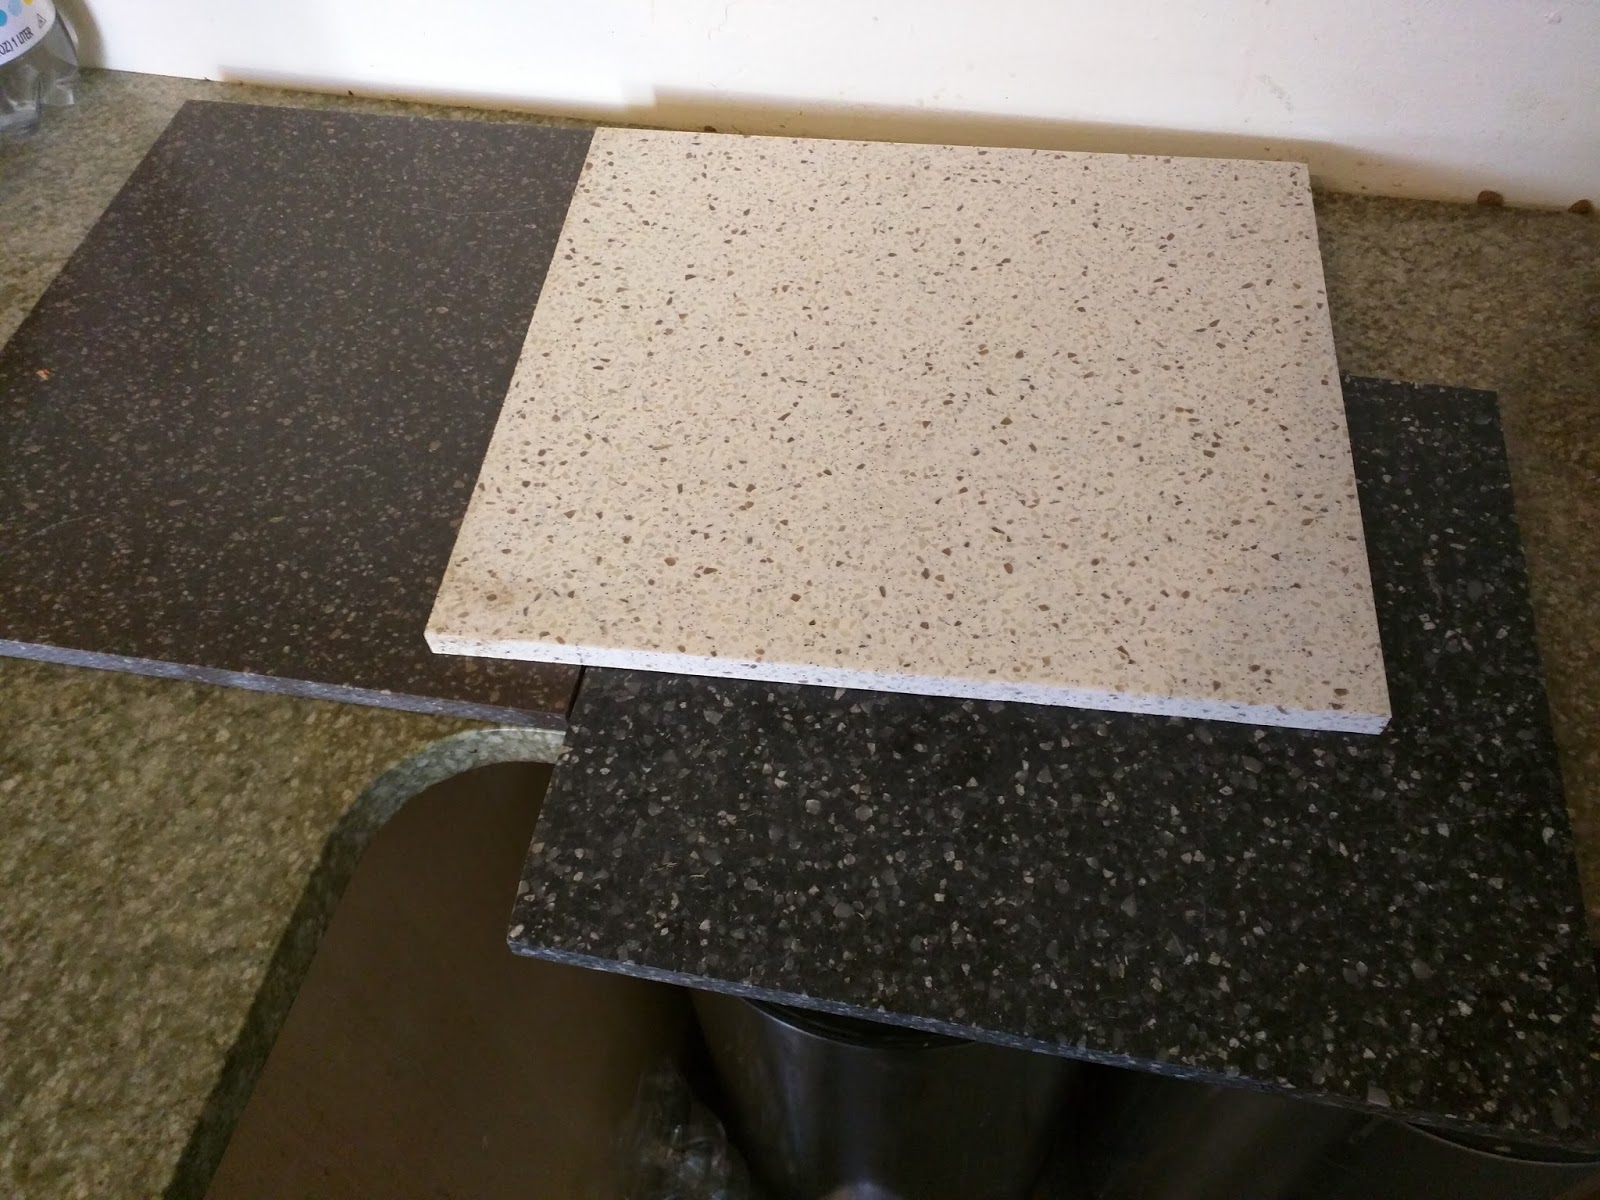
To my mind, the ideal material for the replacement seat would be something lustrous like marble or granite but those are too challenging to cut on my machine and far too expensive to acquire so I settled on the next best thing: Dupont Corian. It is beautiful stone-like surface that is easily milled. What's more,
cheap leftover pieces can be found on eBay with free shipping, despite their high weight, thanks to the USPS, who will ship anything that fits into a Priority Mail box.
I paid $40 for 6 pieces, each of them much better looking than the stools' existing wood seats and all of them big enough to do the job. The only tricky part would be to cut them to be circular and to precisely drill the screw holes so that they perfectly match the positions of the existing screw holes on the stools' supporting steel plate.
So I broke out my trusty caliper and measured all screw hole positions and the ideal screw hole diameter. I jotted everything down in my usual barely-legible chicken scratch before putting it into CamBam, my CAD/CAM 2.5D software of choice.
One faulty measurement forced me to re-cut my holes. Fortunately, all I needed to do was to rotate my piece and try it again. Excess holes in the bottom of the seat will not be visible. In the end, my CNC Router managed to get the hole positions right and it did a great job of cutting the circular profile out of the 1/2" Corian plate.
Now that I have the files for the cuts, I can now repeat this procedure with my remaining Corian plates so that all my stools can have the same upgrade. The only thing that I need to do to improve this seat top is to round or bevel the top lip -- something done easily enought with a trim router.
Much better!
 Our family has long used magnets to hang our knives. The problem has been that the existing knife holders were too short to hold all our knives and were not very good looking. I researched the topic and found that one could combine a nice piece of hardwood with rare earth magnets to make something beautiful that would solve the problem.
I started with an $11 piece of Maple from Home Depot. The next step was to cut it to size and bevel its outer edges with my table router. The final woodworking act was to use the table router to carve a half-inch-wide channel down the center. At first, I took some bad advice that I had found online and left a 1/8" gap between the surface and the magnet but later found that to have any useful attraction, I would need to re-route that gap to be 1/16". This was the resulting piece (After being polyurathaned):
Our family has long used magnets to hang our knives. The problem has been that the existing knife holders were too short to hold all our knives and were not very good looking. I researched the topic and found that one could combine a nice piece of hardwood with rare earth magnets to make something beautiful that would solve the problem.
I started with an $11 piece of Maple from Home Depot. The next step was to cut it to size and bevel its outer edges with my table router. The final woodworking act was to use the table router to carve a half-inch-wide channel down the center. At first, I took some bad advice that I had found online and left a 1/8" gap between the surface and the magnet but later found that to have any useful attraction, I would need to re-route that gap to be 1/16". This was the resulting piece (After being polyurathaned):


